Sqlserver
EPSIO BETA AVAILABILITY
At this time, Epsio for SQL Server is only available to beta users.
To get early access, contact us at support@epsio.io
This guide will walk you through the process of deploying Epsio for SQL Server.
Before you begin
Before proceeding with the deployment guide, ensure that you have the following:
- A VM instance to run epsio on with:
- Network access to your SQL Server.
docker,docker composeplugin andzipinstalled on it.
- SQL Server version 2012 or above
- Your database host's IP (e.g., 1.2.3.4) or domain (your.server.com)
- Your database's port (usually 1433)
- A token retrieved from Epsio's cloud console.
1. Prepare your database for Epsio
The next step will be to configure your database and connect it to Epsio.
Open a connection to your database and follow the steps below.
Create a database user for Epsio's exclusive use:
USE [<database>];
CREATE LOGIN epsio_user WITH PASSWORD = '<password>';
CREATE USER epsio_user FOR LOGIN epsio_user;
Create a schema for Epsio
CREATE SCHEMA epsio;
GRANT SELECT on SCHEMA::epsio to epsio_user;
ALTER AUTHORIZATION ON SCHEMA::epsio TO epsio_user;
GRANT CREATE TABLE to epsio_user;
Grant user permissions
Grant the epsio_user read-only access to all tables in your schema by running the following commands:
If you plan to access schemas for multiple schemas, you'll need to run these commands for each schema.
Replace <schema> with the name of your schema.
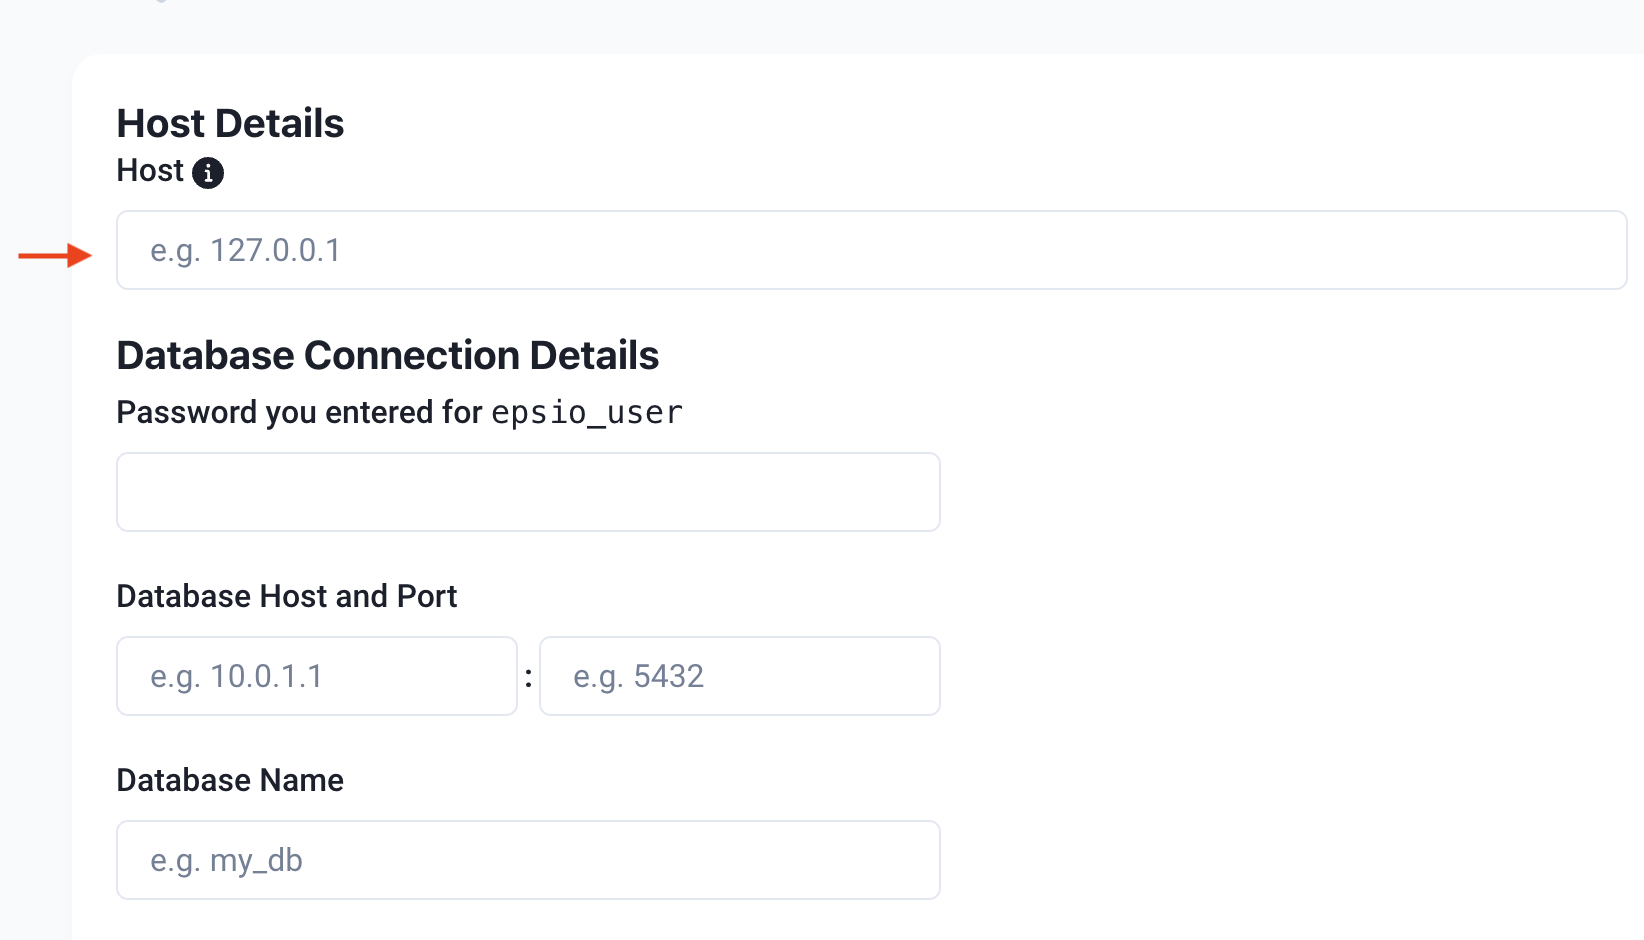
Enter the Hostname / IP of the VM you deployed Epsio in:
Continue to the next step to configure CDC.
2. Configure CDC
Enable CDC at the database level:
Enable CDC for all specific needed tables:EXEC sys.sp_cdc_enable_table
@source_schema = [<schema>],
@source_name = [<table>],
@role_name = 'epsio_user';
3. Install Epsio
To install Epsio, run the following commands in your VM:
export DB_HOST='YOUR_DB_HOST'
export DB_NAME='YOUR_DB_NAME'
export EPSIO_USER_PASSWORD='<The password you created in step 1>'

curl https://epsio.storage.googleapis.com/<VERSION>/install.sh | \
    VERSION=<VERSION> TOKEN=<YOUR_TOKEN> bash -s -- \
    --db-type=postgres \
    --db-host=$DB_HOST \
    --db-port=1433 \
    --db-password=$EPSIO_USER_PASSWORD \
    --db-name=$DB_NAME
Once Epsio successfully installs, you'll be redirected to the Epsio dashboard.
Any errors/warnings in connecting to your database can be viewed in the Epsio dashboard.
You are set to go and can create your first view. Visit the create_view for further details.