Deployment Guide for Epsio on AWS
Before you begin
Before proceeding with the deployment guide, ensure that you have the following:
- A prepared database instance (see previous steps in the "getting started" section for more details).
- The VPC and subnet in your AWS account where you want to deploy Epsio in.
Make sure that the VPC has the required network access policy. - An AWS user with the following permissions:
- Create, launch, stop, and rollback CloudFormation stacks.
- Create and modify IAM users, roles, and policies.
Launch Epsio in your cloud environment
Epsio uses a Cloudformation stack to create and manage your Epsio deployment.
First, click "Create Deployment" in the dashboard, and select Postgres as your database.
Next, choose "AWS CloudFormation" in the sidebar, and in the "Install Epsio CloudFormation" step, click "Create Deployment".
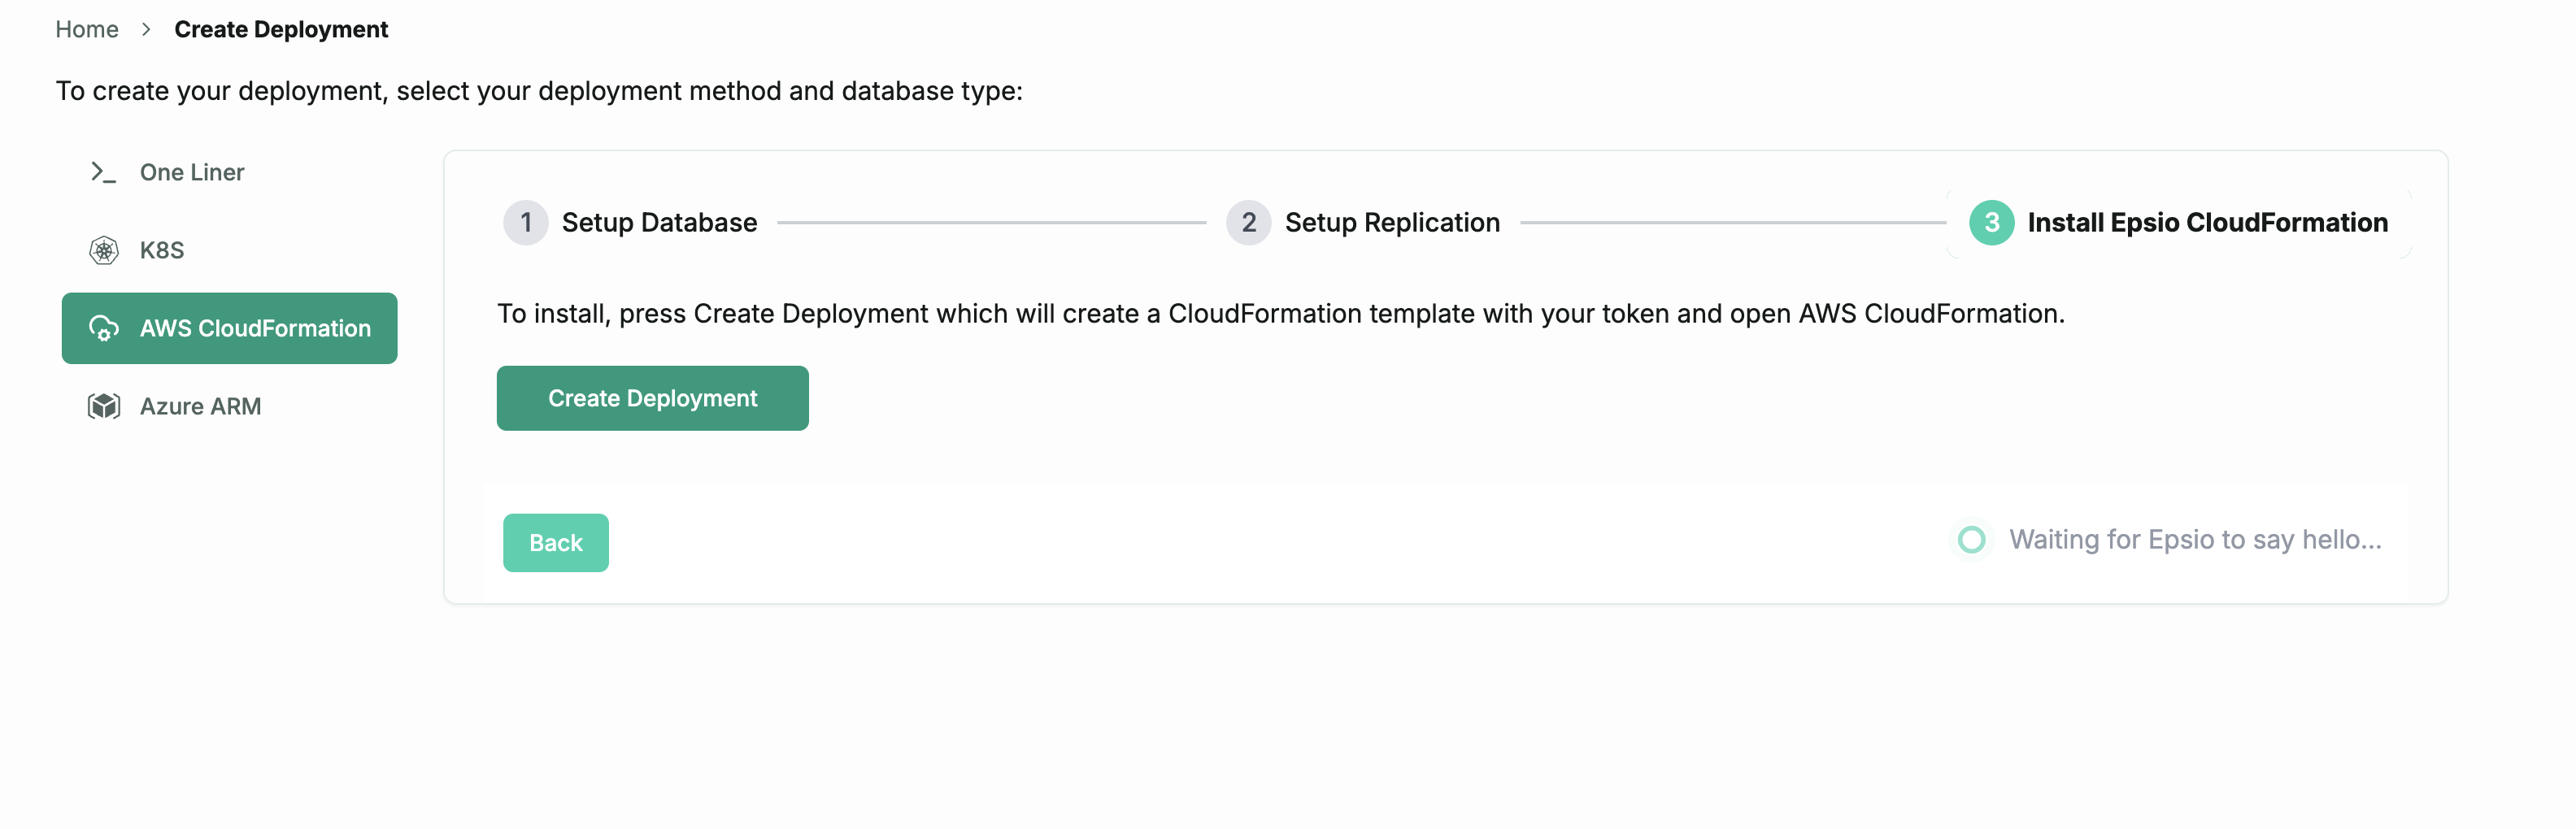
This will launch a CloudFormation template used to launch your Epsio instance. In the CloudFormation template, supply the database information as well as the Epsio instance size:
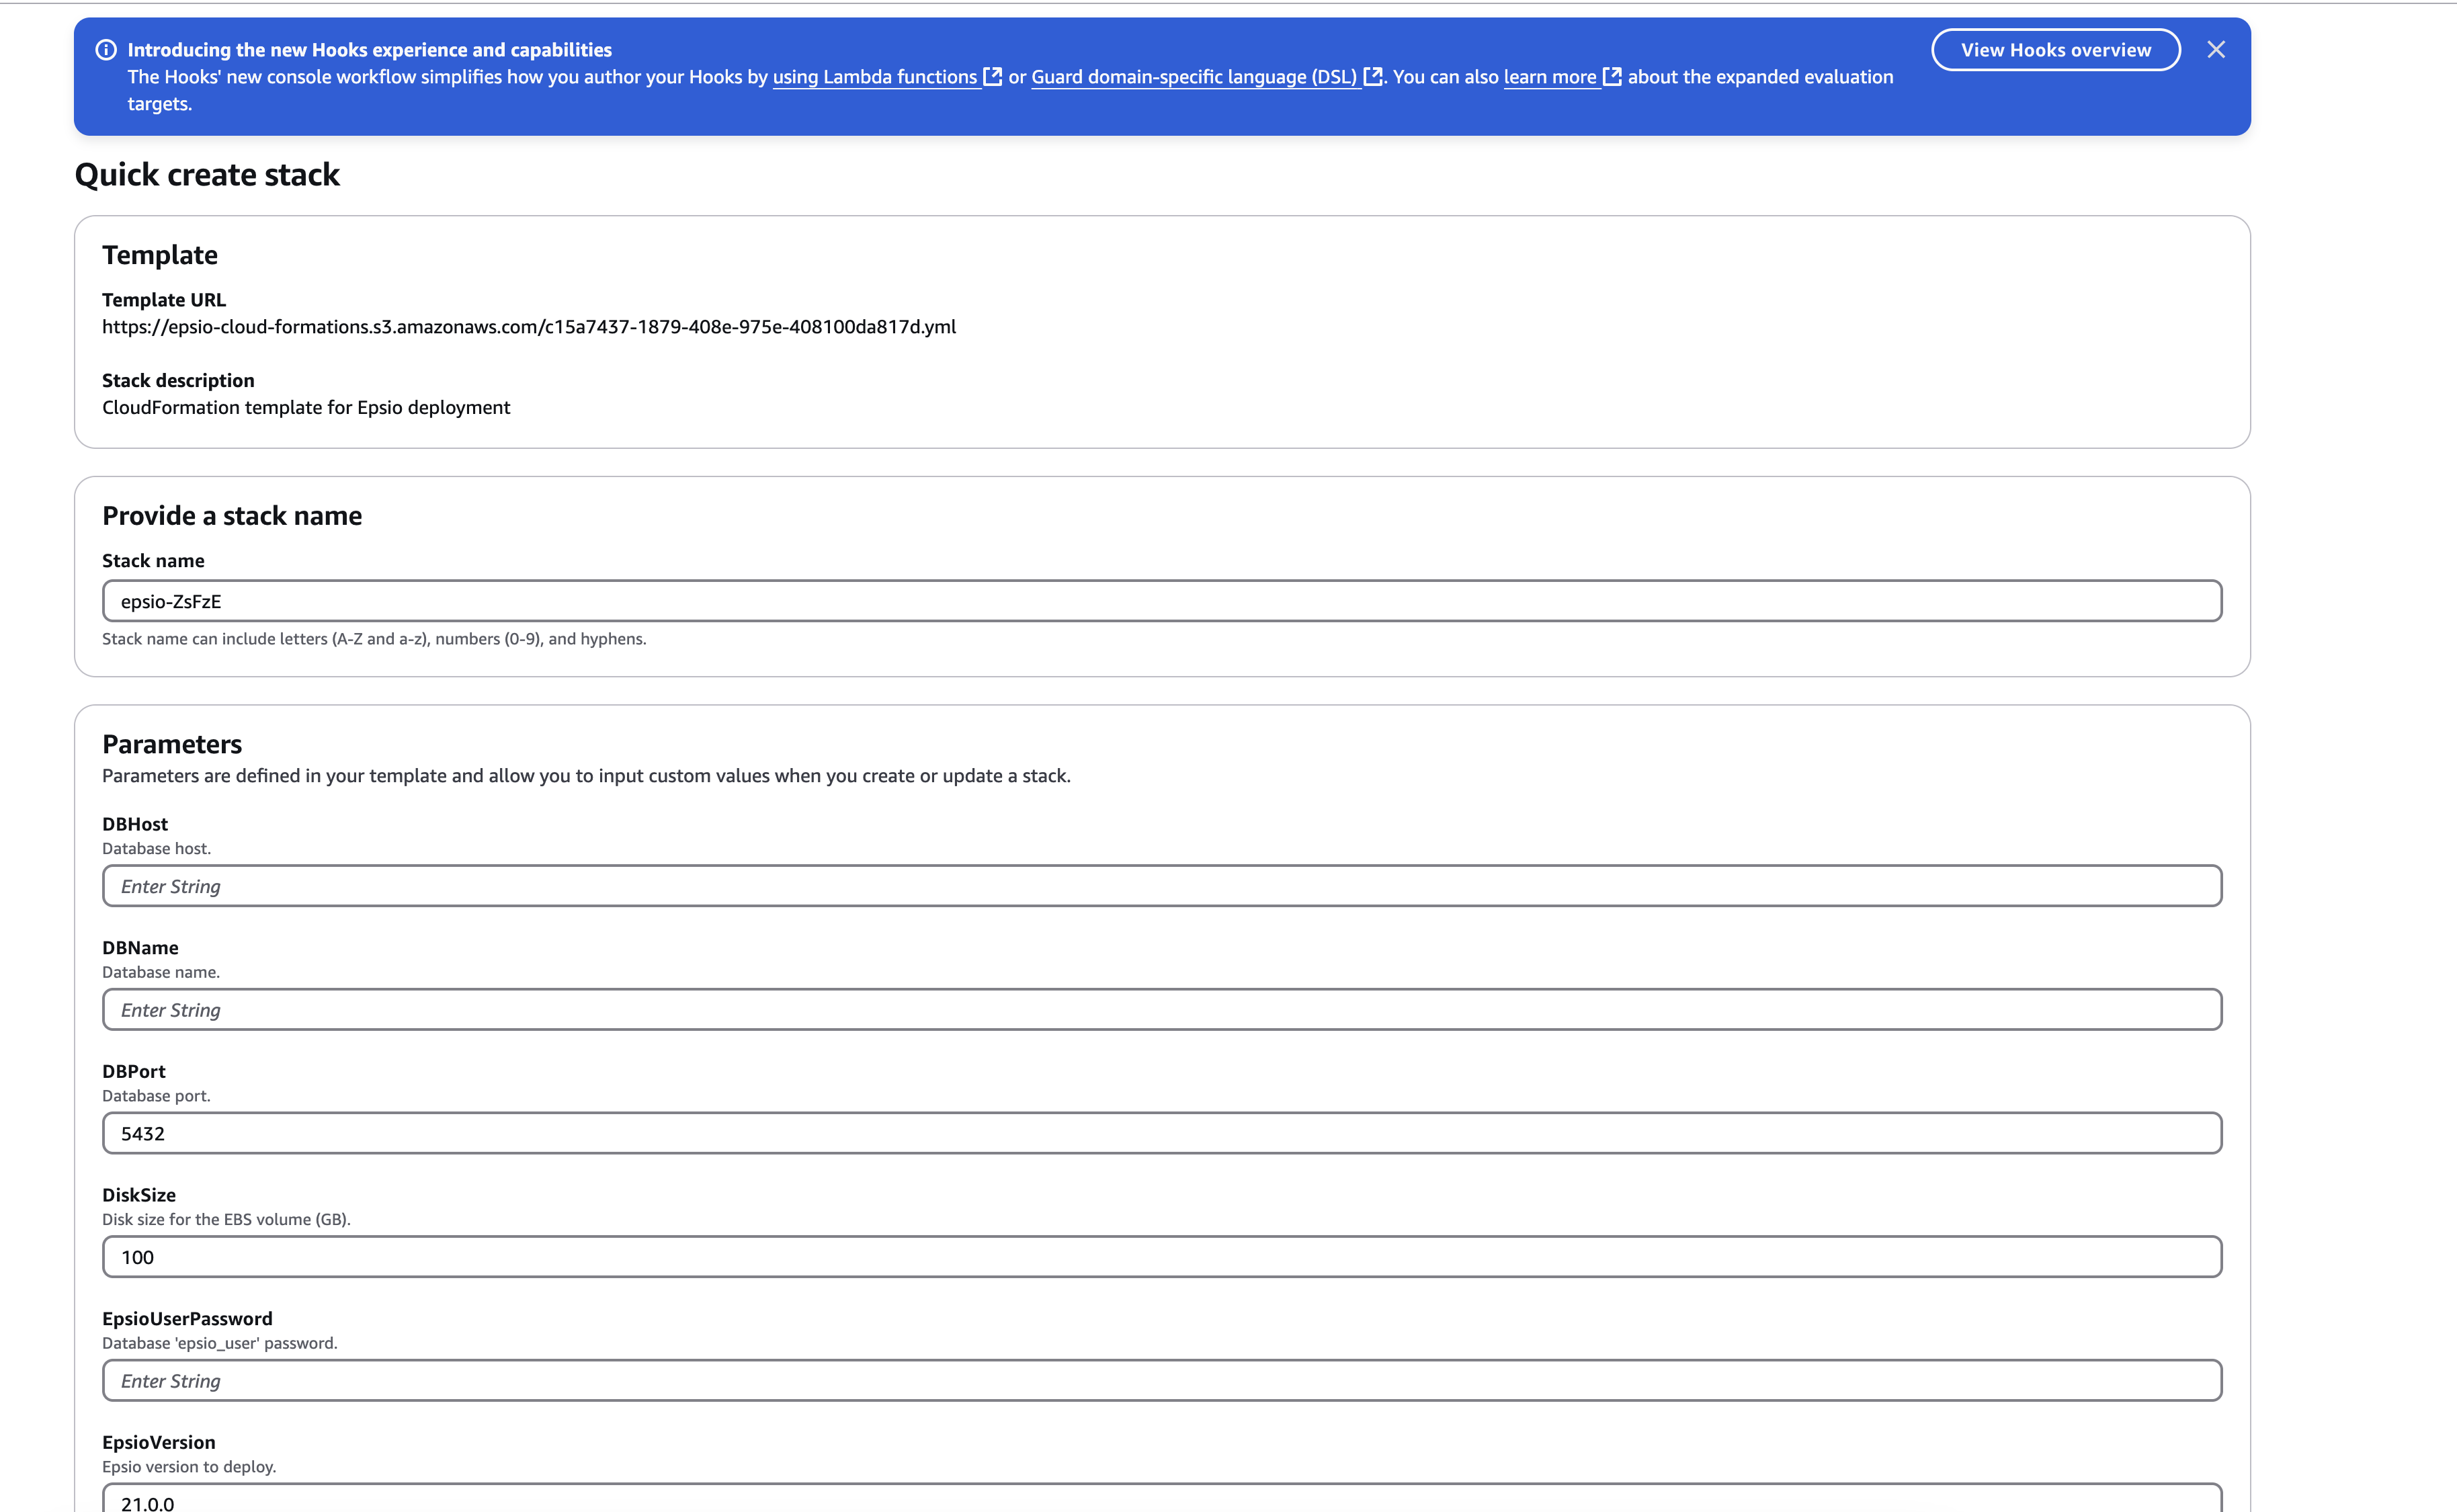
Note that the Epsio Password is the password you created in the previous steps.
Once Epsio successfully connects to your database, you'll be redirected to the Epsio dashboard.
You are set to go and can create your first view. Visit the create_view for further details.s