Epsio Deployment Guide
This guide will walk you through the process of deploying Epsio in your GCP environment.
Before you begin
Before proceeding with the deployment guide, ensure that you have the following:
- A VM instance to run epsio on with:
- Network access to your PostgreSQL instance.
docker,docker composeplugin andzipinstalled on it
- A PostgreSQL Database with version 10+.
- A token retrieved from Epsio's cloud console.
1. Prepare your database for Epsio
This step will walk you through setting up your database to allow Epsio to connect to it. In this step, you will create a user Epsio can use, as well as a schema Epsio will create procedures/functions in. In step 3, you will supply Epsio with the password you created for the Epsio user.
Open a connection to your database and follow the steps below.
Create a schema for Epsio's metadata:
Create a database user for Epsio's exclusive use:
Replace secret with a strong password
Grant user permissions
Grant the epsio_user access to the epsio schema:
GRANT USAGE ON SCHEMA epsio TO epsio_user;
GRANT CREATE ON SCHEMA epsio TO epsio_user;
GRANT ALL PRIVILEGES ON ALL TABLES IN SCHEMA epsio TO epsio_user;
epsio_user read-only access to all tables in your schema by running the following commands: GRANT SELECT ON ALL TABLES IN SCHEMA public TO epsio_user;
ALTER DEFAULT PRIVILEGES IN SCHEMA public GRANT SELECT ON TABLES TO epsio_user;
GRANT CREATE, USAGE ON SCHEMA public TO epsio_user;
If you plan to access schemas other than the public schema, you'll need to run these commands for each schema.
Replace public with the name of your schema.
Continue to the next step to configure logical replication.
2. Configure logical replication
2.1 Check if logical replication is enabled
Run the following command to check if your instance is already configured with logical replication:
If the result islogical, it means that logical replication is enabled, skip to set up replication.If not, follow the steps below to enable logical replication.
2.2 Enable logical replication
Edit your PostgreSQL server.
Edit the Server's flags.
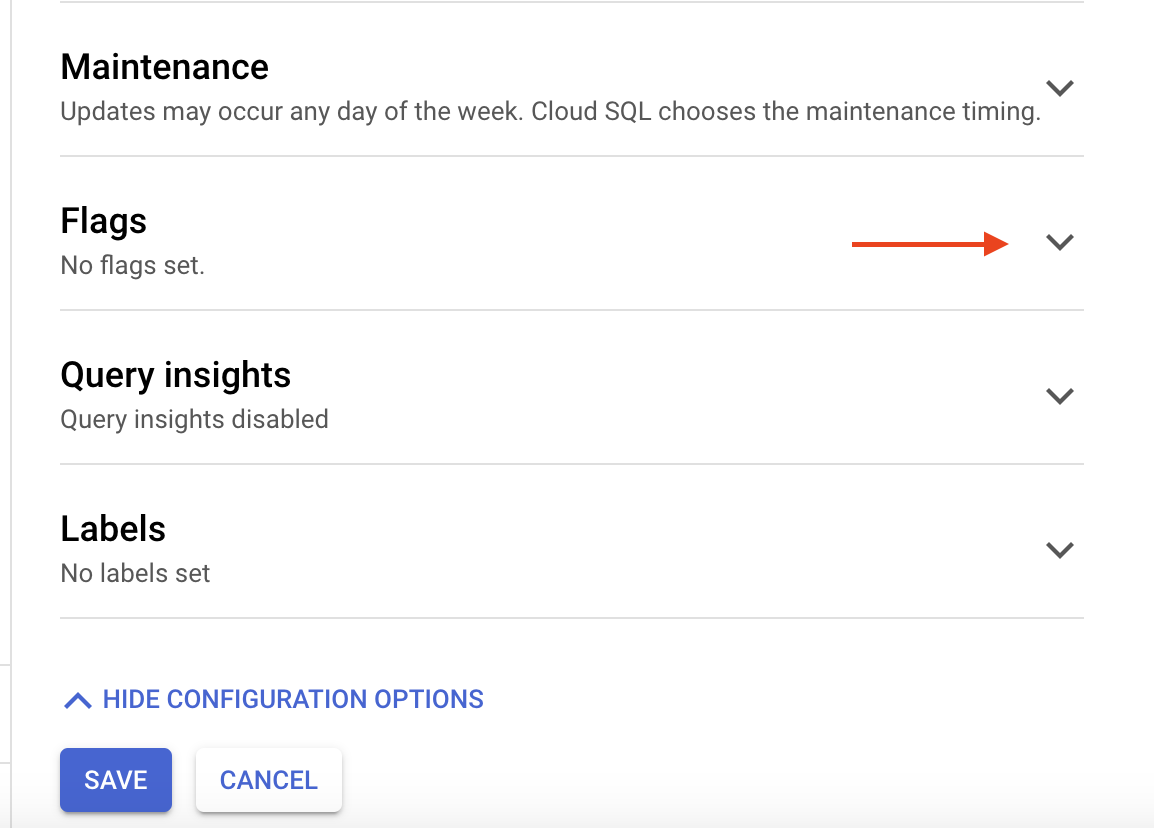
Turn on the cloudsql.logical_decoding flag.
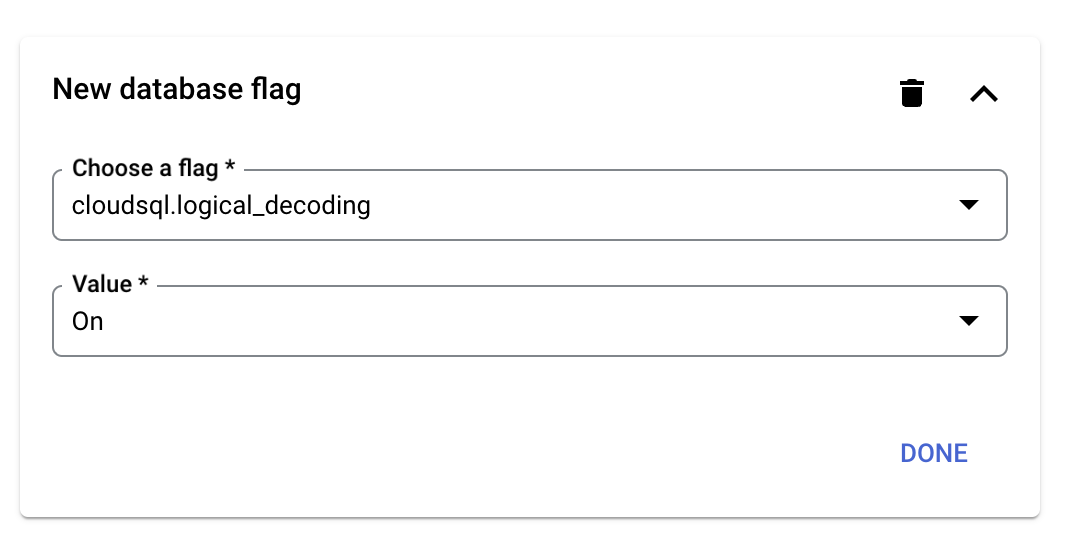
Save the new configuration.
Restart the server.

Verify that the wal_level parameter is set to "logical".
To enable logical replication in a PostgreSQL database, you need to set the wal_level parameter in your database configuration to logical. For standard PostgreSQL installations, you can do this by either:
- Method 1: Adding a
wal_level = logicalline to thepostgresql.conffile. - Method 2: Running
ALTER SYSTEM SET wal_level = logical;;
Optional: Set the max_slot_wal_keep_size parameter to 51200 to limit the amount of WAL data that is retained for logical replication slots. (Postgres 13+)
Restart your database for the changes to take effect.
Verify that the wal_level parameter is set to "logical".
2.3 Set up replication
Next, you'll need to set up replication by running the following commands in your database:
CREATE PUBLICATION epsio_publication;
CREATE PUBLICATION epsio_command_publication;

ALTER USER epsio_user WITH REPLICATION;
3. Install Epsio
To install Epsio, run the following commands in your VM:
export DB_HOST='YOUR_DB_HOST'
export DB_NAME='YOUR_DB_NAME'
export EPSIO_USER_PASSWORD='<The password you created in step 1>'

curl https://epsio.storage.googleapis.com/<VERSION>/install.sh | \
    VERSION=<VERSION> TOKEN=<YOUR_TOKEN> bash -s -- \
    --db-type=postgres \
    --db-host=$DB_HOST \
    --db-port=5432 \
    --db-password=$EPSIO_USER_PASSWORD \
    --db-name=$DB_NAME
Once Epsio successfully installs, you'll be redirected to the Epsio dashboard. Any errors/warnings in connecting to your database can be viewed in the Epsio dashboard.
You are set to go and can create your first view. Visit the create_view for further details.